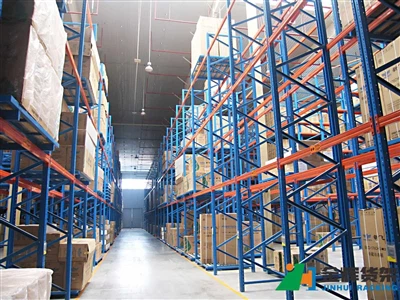
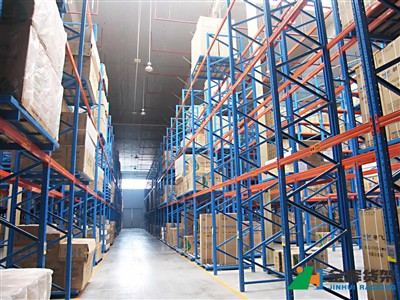
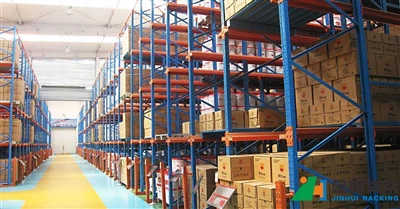
Pallet Racking Assembly Overview
Assembling pallet racking is a fundamental step in building a reliable warehouse storage system. Unlike full installation, assembly focuses on connecting structural components such as upright frames, beams, and bracing to create a stable framework.
For businesses using a pallet racking system, proper assembly directly affects load capacity, safety, and long-term durability.
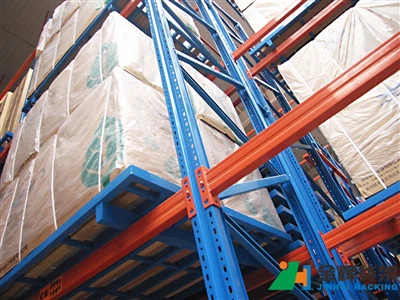
Main Components of Pallet Racking
Understanding each component is essential before starting assembly:
- Upright frames – vertical load-bearing structure
- Beams – horizontal members supporting pallets
- Bracing – diagonal and horizontal supports for frame stability
- Base plates – connect frames to the floor
- Safety locks or pins – secure beam connections
Understanding Rack Connection Systems
Pallet racking systems use different connection designs depending on application requirements and load conditions.
Boltless Connection System
This system uses hook-in connectors that lock into upright slots. It allows quick assembly and flexible beam adjustment, making it widely used in standard warehouse setups.
Bolted Connection System
This system uses bolts and nuts to secure structural components. It provides higher rigidity and is often used for heavy-duty or specialized storage applications.
Choosing the right connection type affects assembly speed, structural strength, and long-term reliability.

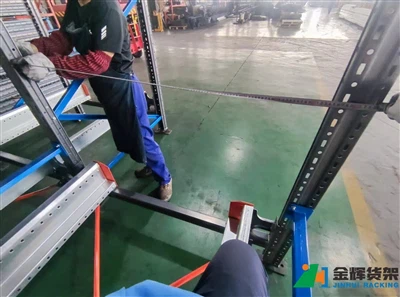
Step-by-Step Pallet Racking Assembly
Step 1: Assemble Upright Frames
Connect vertical columns using horizontal and diagonal bracing. Ensure all bolts are tightened and the frame is square and stable.
Step 2: Position Frames Upright
Place the frames in their designated positions according to the layout plan. Temporary supports may be used to maintain stability during assembly.
Step 3: Install Beams
Attach beams to the uprights at the required height. Ensure connectors are fully engaged and seated correctly.
Step 4: Insert Safety Locks
Install safety pins or locking devices to prevent beams from accidental dislodgement during use.
Step 5: Check Alignment
Verify that all frames are vertical and beams are level across the system.
Assembly Accuracy and Tolerance Requirements
Precision during assembly is critical to ensure structural stability and safe load distribution.
- Frames must be vertically aligned (plumb)
- Beams must be level across each bay
- Spacing between uprights must match design specifications
Even small deviations can lead to uneven loading and reduce the overall performance of the racking system.
How to Check If Your Rack Assembly Is Correct
After assembly, perform a basic structural check before moving to full installation:
- All beams are securely locked into position
- No visible gaps at connection points
- Frames are straight and stable
- No deformation or loose components
A properly assembled rack should feel rigid and balanced even before anchoring.
Tools Required for Assembly
- Rubber hammer
- Wrench or spanner
- Spirit level
- Measuring tape
Common Assembly Mistakes to Avoid
- Loose bolts or incomplete tightening
- Incorrect beam positioning
- Missing safety locks
- Assembling on uneven surfaces
Assembly vs Installation: Key Differences
Assembly focuses on connecting structural components, while installation includes layout planning, anchoring, and final system setup. For a complete setup process, refer to the installation guide.
After assembly, proper anchoring is essential to ensure full structural stability and safety performance.
Related Guides for Complete System Setup
To fully optimize your pallet racking system, consider reviewing guides on installation procedures, anchoring methods, load capacity, and safety practices.
Final Thoughts
Proper assembly of pallet racking is critical for building a safe and durable storage system. By following correct procedures, ensuring alignment accuracy, and verifying structural integrity, businesses can achieve reliable long-term performance.